Showing posts with label clothing. Show all posts

Thursday, January 26, 2012

Jewelry Organizer

This is a foam board covered in some fabric, glued on with fabri-tac glue


I took these corks and cut them in half...


and this twine...


And E-6000 glued them on to make these. Easy. Free for me since I had everything. And it brings a nice colorful element to the white walls (no likey white walls)


Tuesday, January 24, 2012

Upcycle: Glasses Frames

By the by... If you google "Brunette with Glasses" for ideas on what color frames might be an option with your hair color, you find out you have the potential to be the center of a sexy librarian/boss/teacher fantasy pretty much just by wearing black rimmed glasses with your brunette. And who doesn't want that (she said with all the sarcasm in her vocal cords could muster in one tone)

Ok, I admit looking "hot" would be a bonus, womanizing not withstanding. According to the husband though, I don't need to do anything to accomplish that. So really I just want my glasses to look nice on my face and I am bored with the shiny metal look of my frames. And I don't have $150 bucks for some new ones....what to do what to do...

Oh right, paint them. 

Kyla Roma had a lovely tutorial on this at her site (check it). However, I do not trust my "steady hand" so I kinda wrapped the glass part with masking tape to protect it, like so:


Initially, I tried gold model paint mixed with a dark brown acrylic but it really looked crappy kinda chunky and stuff. Plus it was still metallic which was part of what I was avoiding. Oh and it didn't stand out from all my brown. I wanted them to pop a little...


SO Navy Blue won :)


You can see the blue better in this one :) I look classy with my crazy hair recently attacked by a kitten! He likes french braids.


Thursday, December 8, 2011

Bleached Snowflake Shirt Upcycle

I love the frosted look to this shirt! And it was easy to do (win!)

(btw, so sorry I don't have more "tutorial" pics, I could have swore I took some but I can't seem to find them anywhere, so I guess the picture gnome got them... it's easy enough, much like my bleach pen or upcycled tank top, so I hope you can still get the idea! I got the "stencil" at Joanns, its a die cut in the scrapbooking paper section )


Place bleach in a spray bottle.

Place stencil on t shirt as desired


Spray bleach lightly onto shirt (little goes a long way)


Wait and watch while the color turns, when the color changes to the degree you desire, remove the stencil and rinse the shirt well. Hang dry. Wash as you normally would.


Enjoy the festive look of your shirt!

http://www.thethriftyhome.com

Monday, August 29, 2011

The Bleach Pen Strikes Again!


Can you see it?? I know it's really subtle, I had a hard time getting a picture. Having explored the stenciling method with fabric spray paint and then the free handed bleach pen method, I decided to combine techniques of the two and make a stenciled bleach pen shirt. I thought long and hard about what shirt to use but the winner was this long pale yellow t-shirt that I found at a thrift store a while ago. 


With nothing to break it up, it's just a little too long on me (and that's rare because I have a long torso) and so even though there's a lot to love about it (check out the cute accent in the back!), I never wear it. I just wasn't sure how to accessorize a shirt like that... Plus I loved that the bleach effect would be a subtle enhancement of the shirt. 

Step 1: I made a cardboard bow wear the shirt so the bleach wouldn't bleed through to the back. 
Step 2: I Decided where I wanted my pretty floral stencil to go. 
Step 3: I used the bleach pen to go over the stencil. 


Step 4: Once I got that far, I noticed the bleach at the endges of the stencil didn't have a clean look to them so i used the pen and free handed some doodles of leaves and flowers that matched the general scheme of the stencil. 


It didn't take long for the color to fade, this is a bit more time consuming a process than just free handing it altogether. You want to make sure you get all the little cracks so it doesn't just look like a shapeless- blob of a bleach stain on your shirt. 

Step 5: Rinse the bleach off the shirt and dry it.
Step 6: Rock it like it's hot :) 


Monday, August 22, 2011

Bleach Pen Yoga Wrap

My sister-in-law is pretty fantastic, she does dance pilates, yoga.... and she is much shorter than me :) so when I find a cute top that won't fit me, guess who I think of! She has recently had her third mini-human and I was thinking maybe she ought to get a nifty gift rather than the little guys always getting all the loot! Mom's need some lovin! SO I tried out this new fangled technique I have been seeing around the interwebs. All you do is use a paint pen, draw your design, let it sit till its the color you desire and then rinse it off and wash (make sure the bleach chunks don't get stuck on the shirt when you rinse it!) Came out pretty good! Pay no attention to how tiny it is on me :) lol


Wednesday, August 3, 2011

Upcycled Pencil Skirt


So I made this skirt :) Totallyloveit. And its a no sew! (I KNOW RIGHT?!)

Remember this?

My lovely opening scene costume for a play. Wow. Never have I harnessed the fashion powers of Dick Tracy before, but hey! Now I have a solid yellow dress and jacket that I will wear EVERYWHERE right? Not so much. So what to do?

I grabbed this shirt that is (of course) too tight in the boobs, and kinda getting discolored anyway.


And I put on the dress, figured out where i could cut it that would make a comfortable skirt length for me, along with some seam allowance. Aaaaaand cut. This is where I messed up and didn't think "Hey you really should unzip it first so you can still use the zipper part!" so the zipper doesn't work. You should probably be smarter. Luckily, it still goes on just fine with a little shimmy dance.


Next I turned the skirt inside-out and I took FabricTac and glued the seam down, using clothes pins to keep it down for a bit. While that dried, I started in on blending the two items. I ripped the seam on the back of the skirt about 1/2 way up and glued the seam and tip.  I then figured out how much of the ruffle I wanted at the base of the skirt, as well as how much would be needed to add to the seam I just ripped. (it REALLY helped that the skirt and shirt had the same diameter at the base.)  And cut then glued. (see below)


Once the glue dried, it was ready for action! However my camera was having trouble with the crappy lighting. I really ought to wait and have my hubby help me take picture but I get all excited!!! 


Have you ever tried to take a picture of your own butt?? It's really rather awkward. 


YAY! I love it, it's a length that isn't uncomfortable now and it's that much more fun. The white cuts the yellow back a smidge and makes it more bearable. Although I do really enjoy my yellow. 

Monday, July 25, 2011

Upcycled Tank Top

This is really simple and I love how it came out.

You'll need:
Fabric pen
Fabric spray paint
a stencil...


kinda...read below...

First, go to the craft store and get a snazzy piece of cardstock for a buck that looks this (its a die cut or something, in the paper section):


Then, lay it on top of a shirt and spray said shirt with whatever color fabric spray you like, I used white in this case. On top of grey. gray? i always forget.


Anyway... I sprayed it really lightly, it dried really fast which was awesome :) And it looked like this:


So now, take a fabric pen and write a word on there. In my case "scribble." Cuz it looks like a scribble and I like to scribble. Verb and noun in one, perfect :)


Modeling time!


Think I might cut a different neckline, i really hate the high ones. Not that I'm a floozy, I just don't like to feel like I am choking...

Wednesday, June 15, 2011

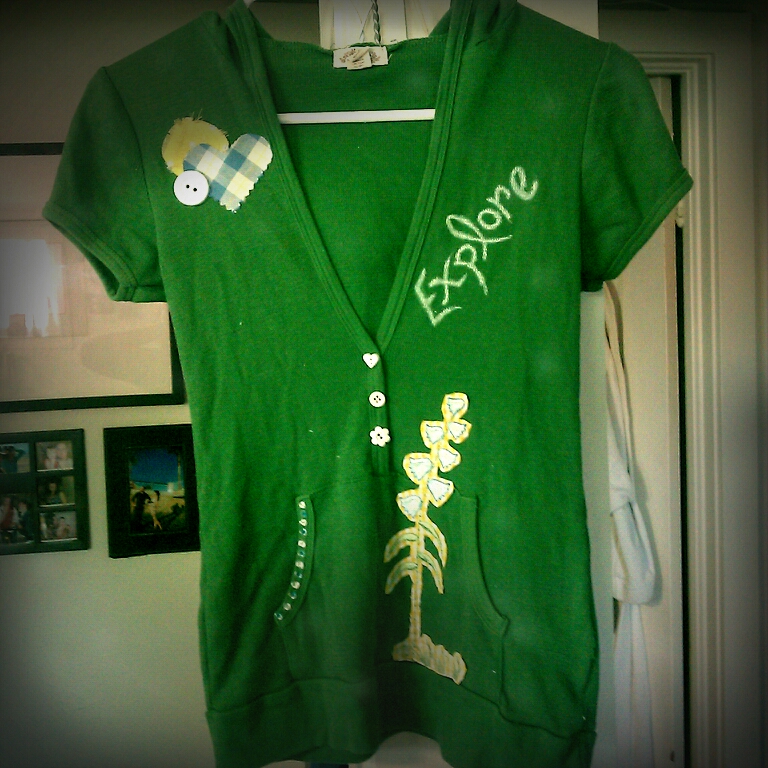
Upcycled Top for my Niece

My niece's birthday is coming up and I wanted to make her something fun to celebrate finishing The Hobbit. She really loved it and thought that was just too cute! However, I am still looking to do that. While on the way to that, I came up with this:


All the way from Georgia, my niece in her new shirt :) She threw it on as soon as she got it and declared that she loved it. My work is complete!


I am really enjoying upcycling clothing! It is so much fun! i feel like this is missing something but not really sure....

Monday, June 13, 2011

Crafty-time Apron

This was my apron:


Which is no where near as fun as it could be. If I am making something fun and crafty i gotta FEEL fun and crafty, yeah?? So this needed a make-over.

Choose the appropriate materials for the makeover:


Stare at things for a while and formulate ideas. For example, this lovely striped material is a skirt with pockets. Who couldn't use more pockets when crafting?? Then cut:


Then embellish...


Love it all kinds...


Related Posts Plugin for WordPress, Blogger...