Showing posts with label thrifting. Show all posts

Monday, July 23, 2012

Garden Grow: Dresser to Kitchenette


I found this dresser for $8 


I painted it. 


Then my aunt had a good idea about turning that spot with the missing drawer into a fire pit or something but we already had an idea for that, but it inspired me to do a spot for drinks! So my hubby used his power tools and cut the top off, flipped it, nailed it back down and I painted over the whole thing. Add a bin and you've got a place to plop some ice and beverages for your backyard party.  


Monday, July 16, 2012

Garden Grow: Outdoor Fountain

I found a marble lamp stand at the thrift store: 


And so basically if you remove the wiring, there is already anice hole drilled down the middle for water to flow up, making a great pedestal for the base. So my first attempt, I used a plastic container painted copper, punched a hole in it and screwed it to the top. It looked good!


But as soon as you turned on the water, the weight was too much and it drooped. So sad. 


So I got a new top, a jello mold. My hubby had to drill it and then we filed some grooves around the edge so the flow would go the way we wanted. Also, adding some rocks to the inside eased the pumping a bit. Success!


Thursday, March 29, 2012

"Tea by the Sea" More Decor

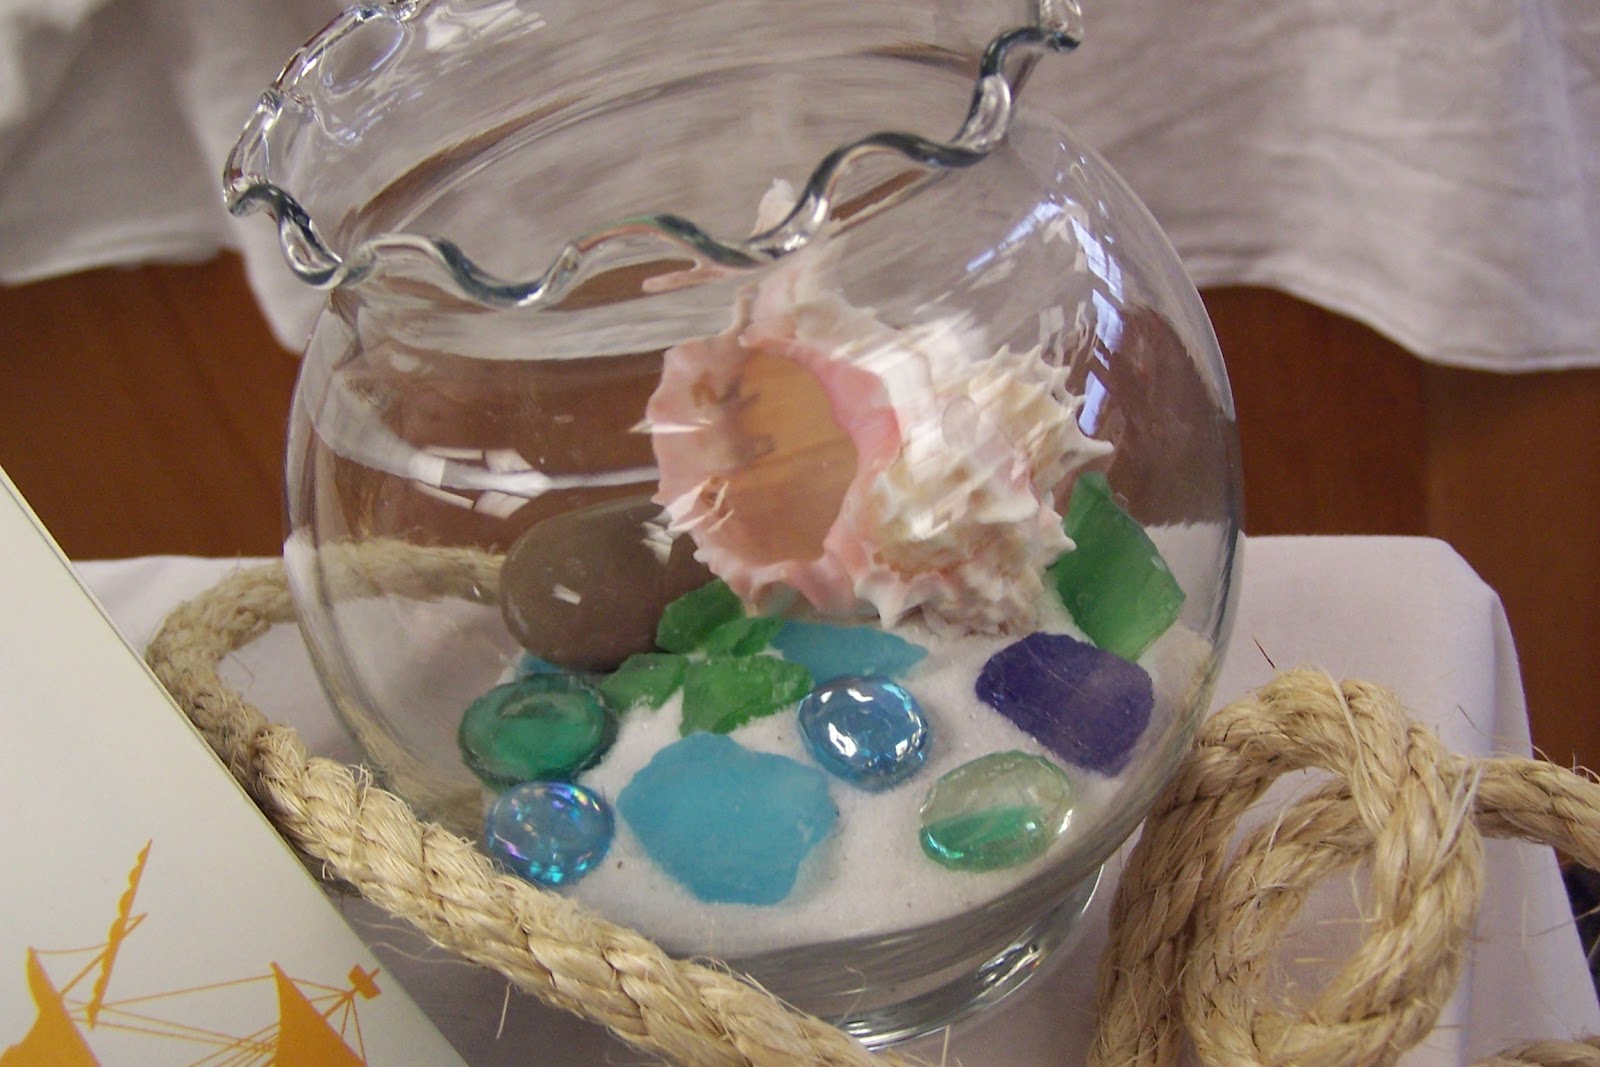
You're not going to believe this but I got another cold (thanks Hubby...poor guy) so this is another short entry but I hope you enjoy the pictures of the decor. Much of what we had was contributed from people's own things, was already owned by the library or was found at thrift stores and the dollar store.


Monday, August 29, 2011

The Bleach Pen Strikes Again!


Can you see it?? I know it's really subtle, I had a hard time getting a picture. Having explored the stenciling method with fabric spray paint and then the free handed bleach pen method, I decided to combine techniques of the two and make a stenciled bleach pen shirt. I thought long and hard about what shirt to use but the winner was this long pale yellow t-shirt that I found at a thrift store a while ago. 


With nothing to break it up, it's just a little too long on me (and that's rare because I have a long torso) and so even though there's a lot to love about it (check out the cute accent in the back!), I never wear it. I just wasn't sure how to accessorize a shirt like that... Plus I loved that the bleach effect would be a subtle enhancement of the shirt. 

Step 1: I made a cardboard bow wear the shirt so the bleach wouldn't bleed through to the back. 
Step 2: I Decided where I wanted my pretty floral stencil to go. 
Step 3: I used the bleach pen to go over the stencil. 


Step 4: Once I got that far, I noticed the bleach at the endges of the stencil didn't have a clean look to them so i used the pen and free handed some doodles of leaves and flowers that matched the general scheme of the stencil. 


It didn't take long for the color to fade, this is a bit more time consuming a process than just free handing it altogether. You want to make sure you get all the little cracks so it doesn't just look like a shapeless- blob of a bleach stain on your shirt. 

Step 5: Rinse the bleach off the shirt and dry it.
Step 6: Rock it like it's hot :) 


Friday, June 10, 2011

Entry Door Make-Over

Hello All! My in-laws came to see the play we were in and before they got here I realized that I had a few things left to do make our little basement apartment complete.  One of them was the entry way door. 


The window of the door looks right into the hall way, which has the entry of the bathroom just to the right there and our bedroom at the end. The other wonderful thing is that the Front door is just at the top of the stairs so anyone coming in could potentially see me running naked from the bathroom to the bedroom because i forgot...i dunno...something...make it up i don't care! Ok maybe it would never happen but you get the point! It could and so...it's awkward. I have been using a scarf, did hte trick of covering the window but didn't look very good at all. 

The sign I wanted to keep there because my cousin gave it to me as a housewarming gift and it's got a very sweet saying.

A while back though, I found a big ol' piece of burlap that just begged to be used for something like this. 


In retrospect, I would have spent more time measuring and planning but with it being the week of the play and dress rehearsals, i was really anxious and short on time.  Sooooo i winged it and just started drawing the letters.

Like that yellow nail polish? for the play lol

 Of course, it was off center so i added a little something at the beginning to even it out...


 Which, it turned out, didn't even matter because this is how the door framed it anyway:


 I should probably iron it.... but it looks better than the scarf! yay!

Wednesday, May 11, 2011

What to do with that birdcage....


I am showing the end product! I never do that really...anyway. I had this birdcage, just the birdcage, from my wedding. We used it for gift cards. Now, i don't really get gift cards en masse, as you can imagine, so the cage needed a new look. While it pretty much involved shoving different items into the cage in a pretty way, I wanted some height to it as well. So I picked up one of these green foam ball things: 

I measured a hole in the top and carved it out so that i could nest something into it.

Then I used glue to stick moss all over the ball.
 Now since I was planning to hang this, i made sure the bottom had moss too. The moss added to the dimensions a bit so i really had to stuff the thing in, make sure you think ahead on that, unlike myself :). Cute huh? and really easy too. Once the moss ball is in there, just nestle a few decor items in the sides and on top (flowers, ribbon, necklaces, vase, an old clock face, a framed quote, etc.) and TA DA!

Saturday, January 29, 2011

The Bedroom: My Favorite Things

I still have one major project to complete with the bedroom and then it will be all done and amazing! I have a vision of a giant collage type thing...it's complicated but fantastic. Till then, I am excited about everything else that has gotten done in there! So here are my favorite little nooks and whatzits of our new bedroom (**note** a lot of this decor was left over decor from the wedding. When I designed stuff for the wedding, I tried to make sure it was usable after so it wasn't wasted money and it has worked out wonderfully!) Enjoy!
Found this $50 shelf for $17 and then used dollar store bins


Gave our laundry sorter a little more character with a shower curtain from the thrift store

Repainted thrift store items=awesome decor

Add caption


The teeny closet we successfully organized!

Friday, January 21, 2011

My Bathroom Makeover: Complete

Hello World! Ah, it's a beautiful day...why? because when I walk into my bathroom I see nothing but cuteness. I have spent all weekend scouring thrift stores, the hardware store, craft stores.... and last night, my husband helped me finish putting up shelves in both the bedroom and bathroom. You don't get to see the bedroom one's yet, the room's not ready, but the bathroom is one mat away from being done!

Here's some before shots:

My Aunt's grandsons' cat attacked this thing i guess...

See the lantern and the glass boat? Thrift store =D

Organized but not pretty

Yay for bottles that don't fit in cabinets!....

just cleaned my brushes :)
So, as you saw hints of, I had decided to do some sailboat theme's. I thought some hints at the nautical would give me some direction and work well with the yellow towels. I think I would have loved to do sea glass but the yellow just wouldn't have gone. And my aunt made those monogrammed hand towels with bold blue thread so that really wouldn't have worked. Another time maybe. But I like sailboats :) not so much to collect them but I enjoy them and they remind me of the bay's where I grew up. So I made a list of what I would need to change in order to integrate that feel, as well as some red and more blue.
  • new shower curtain (the one left here is beige)
  • cover the rip in the towel bin
  • new bath mats
  • cover organization boxes
  • shelves
  • baskets
  • rope accents
That was where I started. I went to the local thrift store and found this (as well as that cute lantern and boat cologne bottle you saw there):

Perfecto! Then I went to hardware store and bought some twine, rope, wire and super glue. Another trip or two to other thrift stores led me to some awesome little metal pails for putting things in, a wooden shelf that looks like it belongs on a ship, a mat for around the base of the toilet and a frame. I had to give up and go to target for the shower curtain because by that time I had such a specific idea of what I wanted i just wanted it. Now. Ever have that moment? So i broke and i don't much regret it because I got a finished bathroom! YAY! Here's the after pictures :) 

The whole shebang....as much as i could through the door...


Now for a close up or two...


Lucky for me we got a calender with this "painting" on it's envelope. Win.


Hair doodad's up top, make-up down below.

 *These hanging baskets were inspired by Be Different, Act Normal, just oh by the way.

Think i might put some cute letters on this. When I'm not so tired.

In case you missed my other entry about making these cute guys :)
The pictures don't do it justice, i suppose, but i freaking love my bathroom. Everything has a little spot and clean up is oh so much faster! The bedroom is next to be featured, it's been making some progress. It's nice to have things actually feel like a room! Tomorrow is the big day, you know, if it doesn't rain. Like it is right now. Grrrrrr. Normally, I love rain, but right now it is preventing me from having all the stuff i have waited YEARS to have out of storage and so.... 

Rain, rain, go away. 
Please?
One Saturday afternoon is all I ask. 
Thank you.


Related Posts Plugin for WordPress, Blogger...