Showing posts with label crafting. Show all posts

Wednesday, February 22, 2012

Grandma Project: Lamp Shade

This will not be "pretty" but why lie to you all and make you think everything I do is all shiny and happy? It's still functional and that's pretty much all Grandma seems to care about :) Which takes the pressure off of me, thats for sure. 

Grandma's lamp shade had crumbled to bits, literally. 


And it was pretty much blinding anyone who sat nearby. 


I couldn't find a way to buy JUST the plastic shade at any nearby stores. 
So someone suggested I make one. Having never made one before, the result was something functional but kinda...janky...
I found a dish that was a similar shape of the original shade and used it for a support.


I then worked on cutting a piece of cloth the size that I wanted for the main section. I didn't care too much about the circle not being perfect because it was going to get covered anyway.


Realizing I needed more height on it, I put the whole set up on top of a vase and then a plate beneath that because the starch will drip, I imagine. 
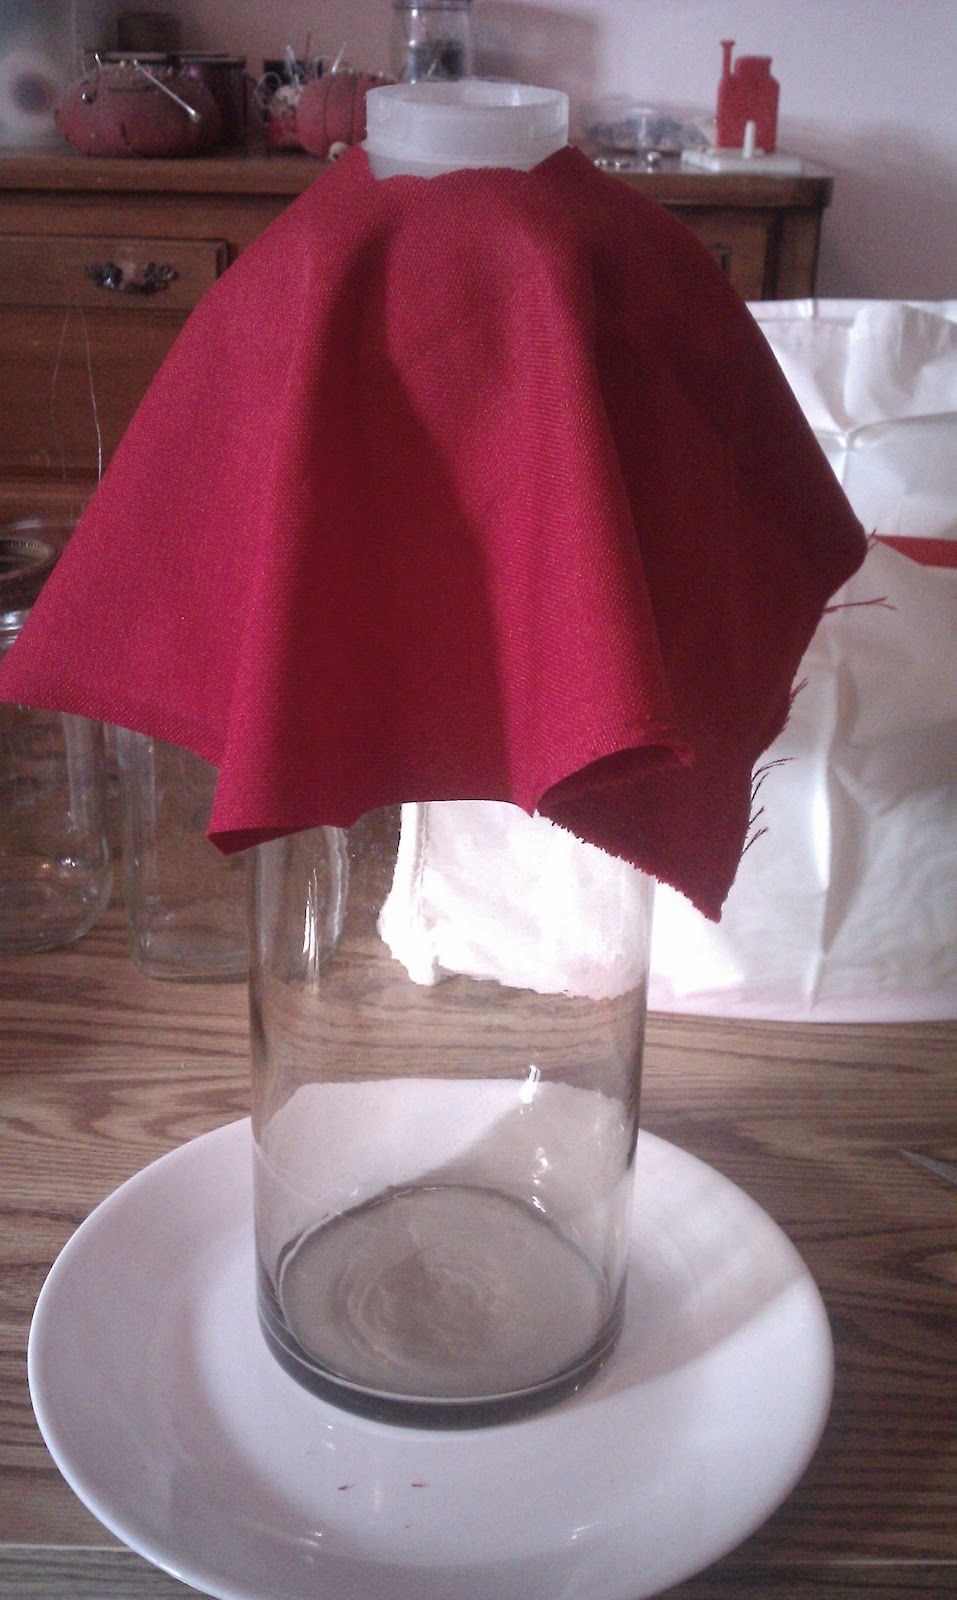

Dipped the fabric in REALLY thick starch...probably too thick, don't think it should have chunks like that...I've never mixed starch before so how should I know. 


Drape, form and let dry


Next I took this pretty granny square (I wanted to incorporate my Grandma's talent for crochet)


I removed the flower


Dunked and draped. Had to use safety pins to get it to stay, it was pretty saturated.


I think it took at least a day and a half to dry. I also added some glue but that was a mistake, I never should have added it. It didn't make a difference and it just added a nasty whiteness to the shade. 

Then the REALLY fun part, as in not at all fun. When I went to reattach the shade, the plastic beneath began to crumble at the slightest touch. I couldn't actually screw the thing back in! So I had to bust out the duct tape. If I had forseen the issue maybe I could have gotten a color less...purple...but at least it looks good with red. 


This angle makes Grandma look like she has a lamp on her head :P which I actually didn't realize until I loaded it. Yay for tunnel vision! She likes it, it does the job. And honestly she was far more amazed that they have purple duct tape now. TA DA!


Friday, February 10, 2012

Upcycled Toss Pillow


One of our toss pillows got a stain (oops!) 


But why toss the toss pillow (har har) when you can just upcycle it and cover the stain? Besides, Grandma's guest bedroom needs a toss pillow on the bed. So I measured out a strip of fabric...


Got my handy fabric mod podge


Coated one side and stuck it right over the stain.


Now for some cute factor! My Grandma does crochet, so I have been using random little elements of it throughout the room. I grabbed three granny squares and coated the back with the mod podge...


Stuck it right on top. Notice I gooped a lot on there because it's yarn and has lots of nooks and crannies. So to get it to really stick i put enough on there that it would seep in. 


Some corners gave me a little trouble so I used Liquid Stitch to tackle them. 


I layered like so...


And let it dry over night


Pretty!


It works out perfect and I quite happy with it. It has the main colors of the room (pink, maroon and gold) all in one, snazzy!


Wednesday, February 1, 2012

Making Over: The "Kitchen"


Ok so we technically don't HAVE a kitchen, but we miss having one so we are making one. A mini one. It's very european of us! That's it, lets make this sound super classy...

Anyway, since I don't have counters yet, I decided to make over this metal...wall...thingy... what's this thing even called? seriously. I dunno but it's cute, i like the industrial look.  It used to hold a junk drawer assortment of crap. Now, it's life will be more meaningful as a container for silverware. 

To make the labels a little more fun, I decorated them. It's nothing that takes a tutorial, it's pieces of card stock paper cut to dimensions that will fit the slot. Then decorated in the colors I am using for the "kitchen."


I put the napkins in with the knives because the kitten would shred them if they are lower. 
So now they are knapkins (HA! because of the "k" label on the box, get it??oh I chuckle to myself...)

Thursday, January 26, 2012

Jewelry Organizer

This is a foam board covered in some fabric, glued on with fabri-tac glue


I took these corks and cut them in half...


and this twine...


And E-6000 glued them on to make these. Easy. Free for me since I had everything. And it brings a nice colorful element to the white walls (no likey white walls)


Wednesday, December 21, 2011

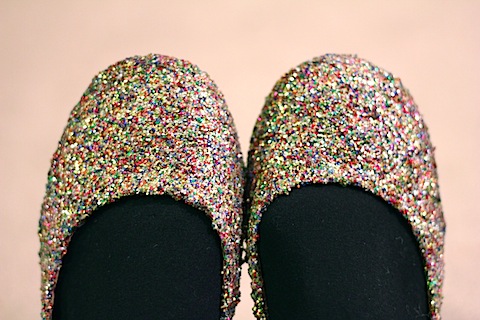
Upcycled: Glitter Flats

I saw these on pinterest by We're Not Martha.


Pretty cute!! She (Sues) has a perfect tutorial, which I followed to the T (for once) and got these fantastic flats for myself. Just in time for my vacation too. Quite exciting.

I had some black leather flats that were...oh... four years old now? Jeepers! They were starting to peel and look not so good. And I don't have any brownish flats so I decided to go with gold. It helped that I had some old gold glitter (partial bottles) from the thrift store just waiting to be used. It was the nice, not yellow-y kind too. I hate greatly dislike the super yellow-y kind.


They are coming with me to California to be worn in the spirit of the season.

Monday, December 19, 2011

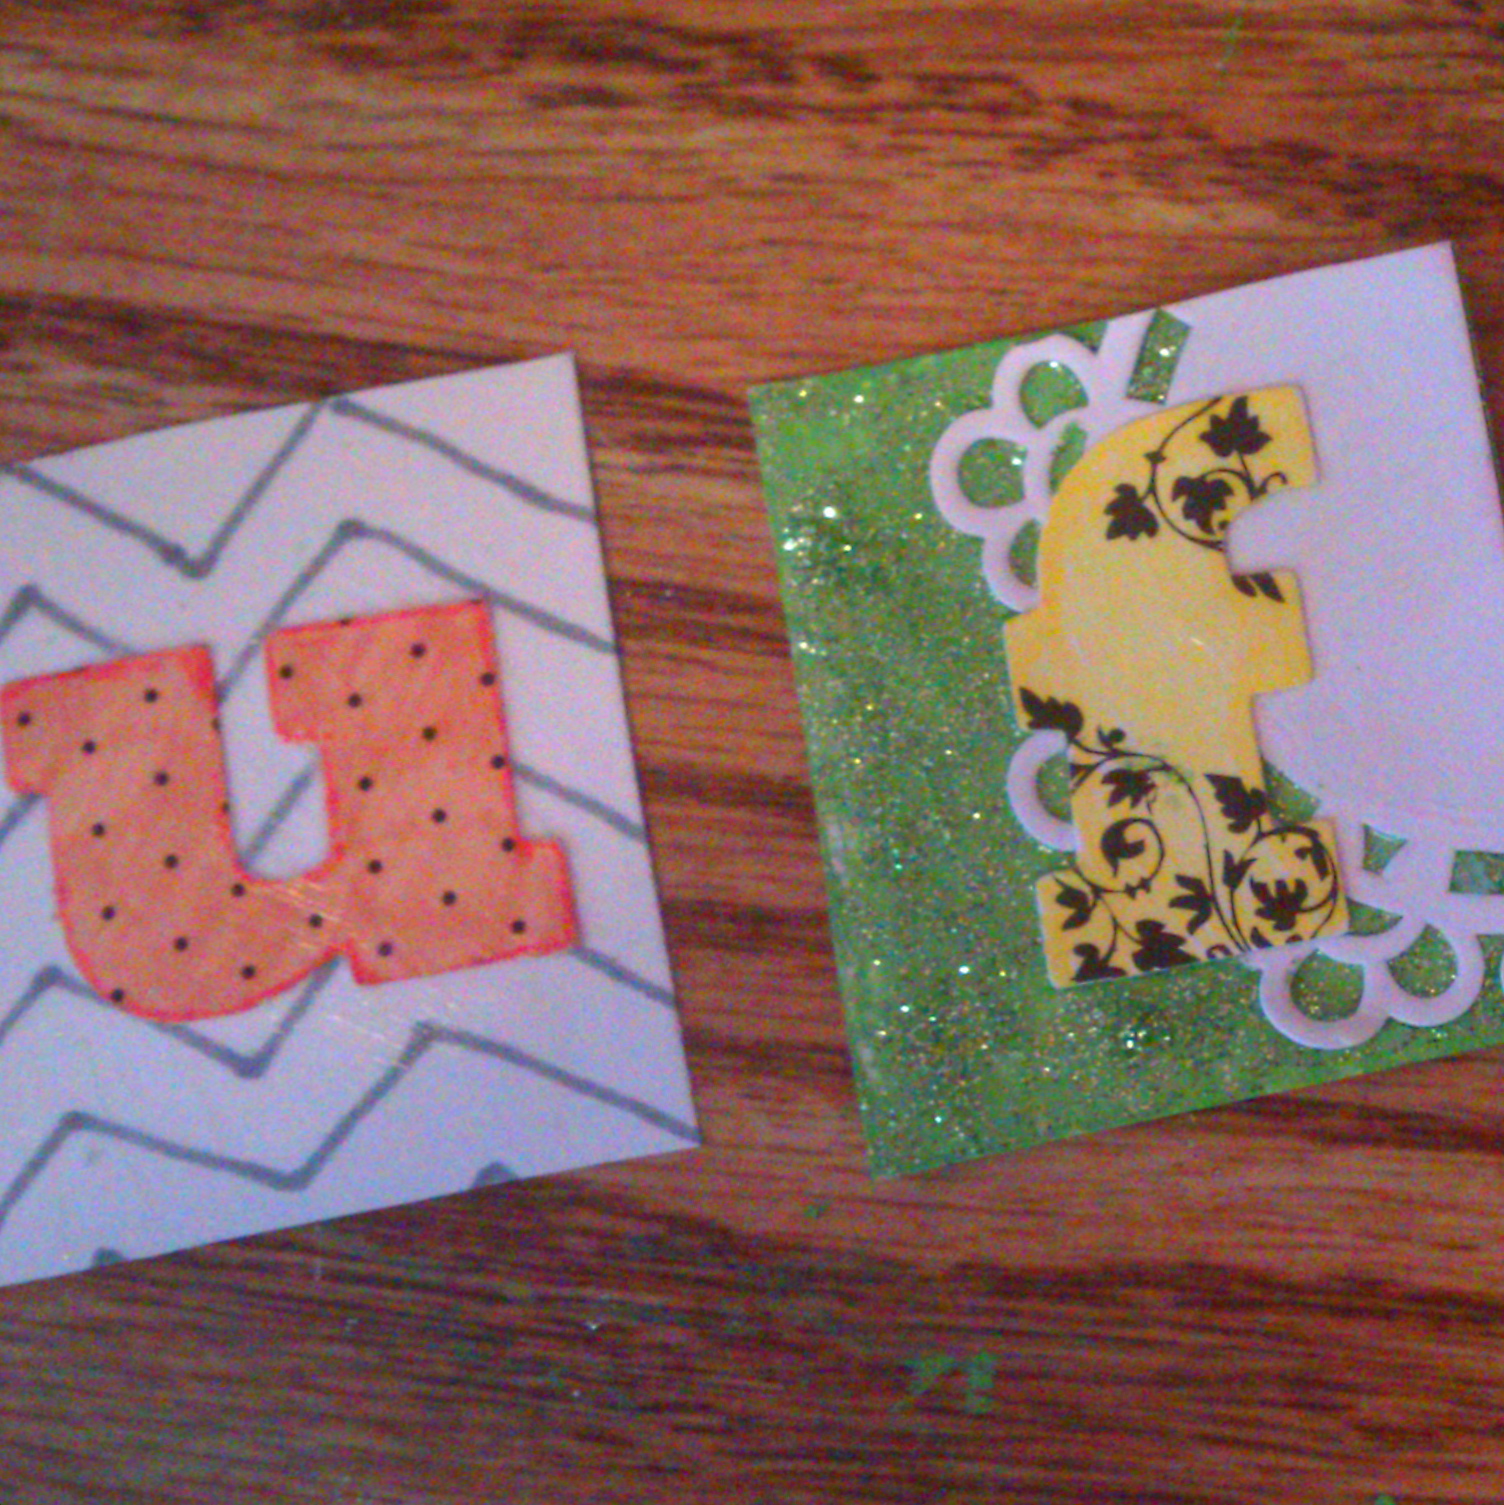
Simple Christmas Cards

I forgot to take pictures of my pretty cards that I made this year. Bummer yo.

So I reopened a couple of cards and took a pic any way :) hahahaha oh well! The tree is my favorite.


Thursday, December 15, 2011

Christmas Wreath


Like my new pretty? :) This is all either thrift store, something I had already or dollar store. I am pretty happy with it! It took a little while with the letting things dry bit but other than that, really easy to do.

Slice a strip of fabric


Glue fabric to the wreath


Glitter!!


Let dry


Making the bow;


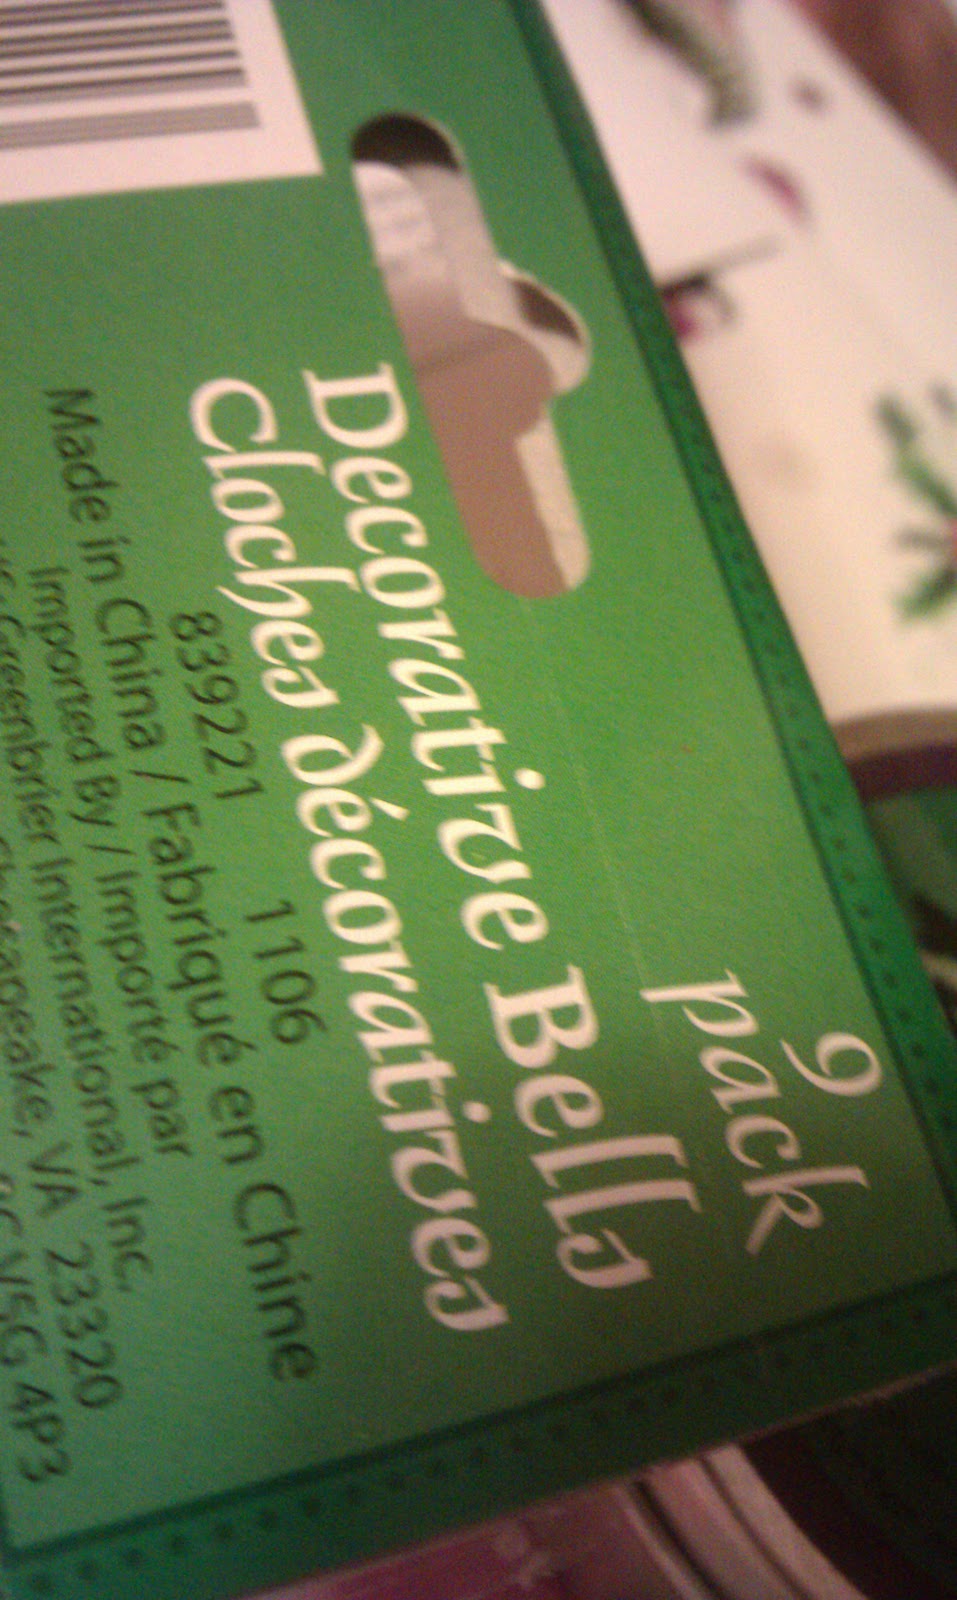
Bells from the Dollar Store


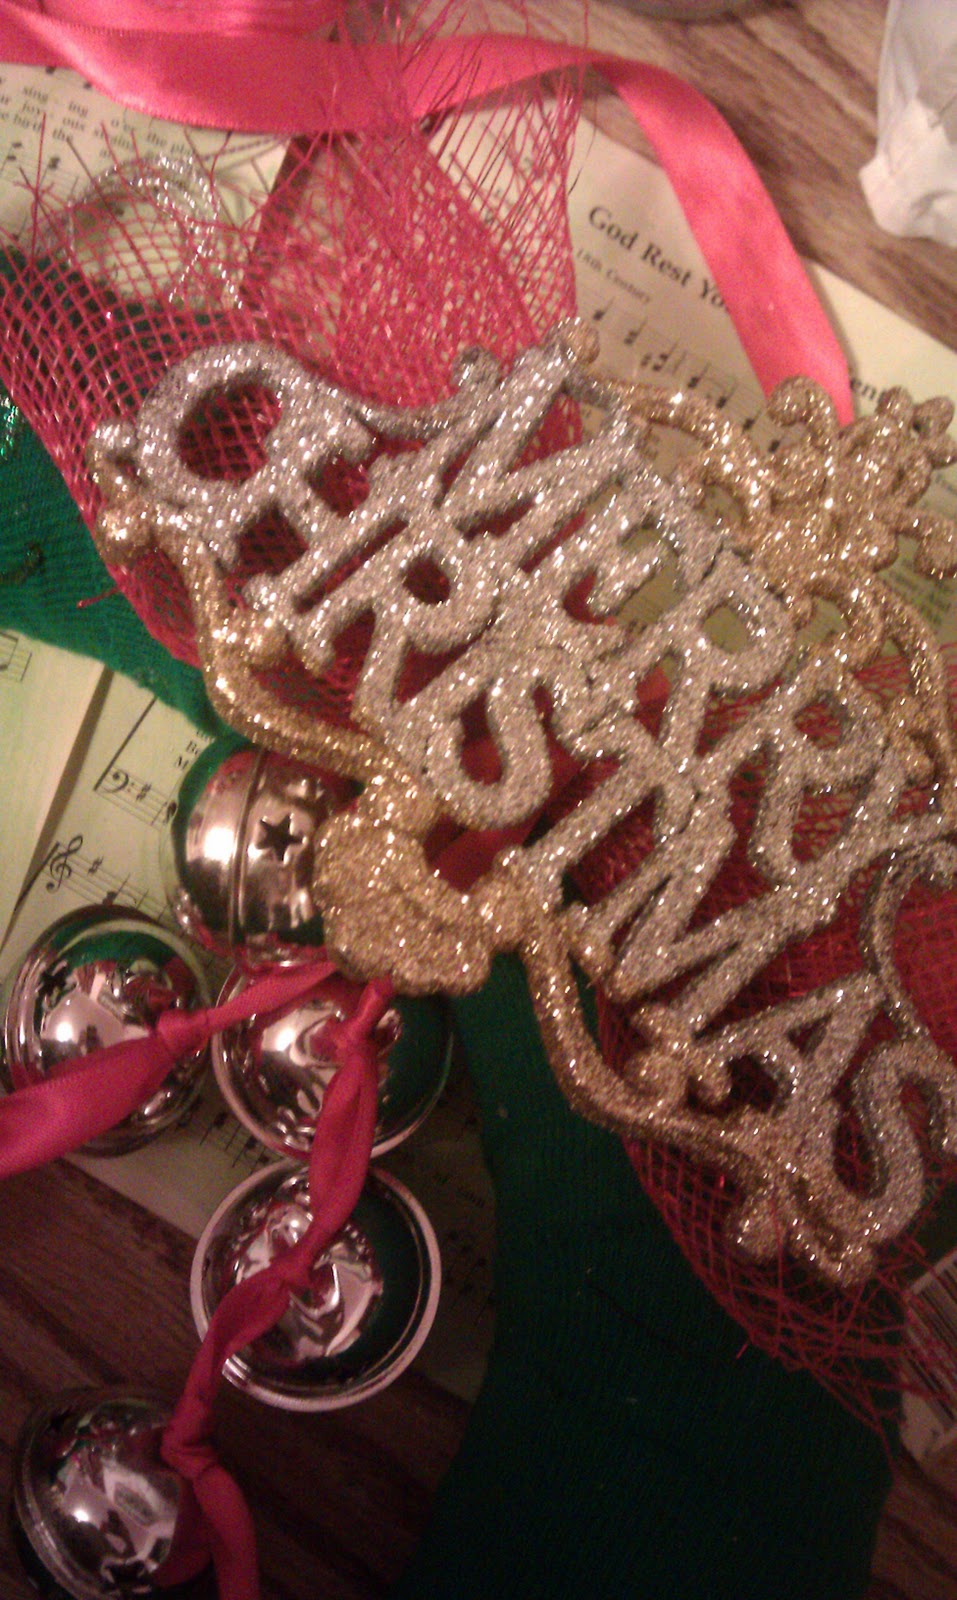
Thread the bells down some ribbon, knotting the ribbon where you want the bells to stay


Glue ornament to the top


Using the light green puff paint...


Let dry... again...


Hang up and think happy Christmassy thoughts!


Related Posts Plugin for WordPress, Blogger...