
They got me through college :) and now they are a pretty perfect fit for the shelf that was left in the bathroom but they are kinda ugly. And not in my vision for the motif at all. So I decided they get a make over. To do this, I gathered up:
- Fabric Glue: Beacon Fabri-Tac Permanent Adhesive, 4-Ounce
- This stuff: Henkel 1050904 Loctite 1-Ounce Vinyl, Fabric and Plastic Repair Adhesive, Clear
- a ruler
- scissors
- fabric
- paper
- marker


Then, using the Loctite glue, I glued the beginning of the strip to one side of the crate.


As this was drying, I made my stencils. First, I looked up the images online, then using scrap paper, I drew them with the marker, making sure the silhouettes were solid enough to be cut out of fabric without too much trouble. You can probably achieve this exact goal by simply printing something out, but I don't have a printer right now (it's in storage). Then I took the paper, placed fabric glue on the back, placed it on the backside of the fabric I wanted to cut out, and let it dry. Once it dried, I cut out the stencil/fabric.


Sorry the picture's aren't so hot. I used my cell phone :P. Hey, I am excited and wanted to get it going! Well, that and I was doing this on Grandma's floor, chatting with her while she crocheted. I didn't want it to be in her way too long.
Next, I glued these cut outs onto the crates, and they looked like this:
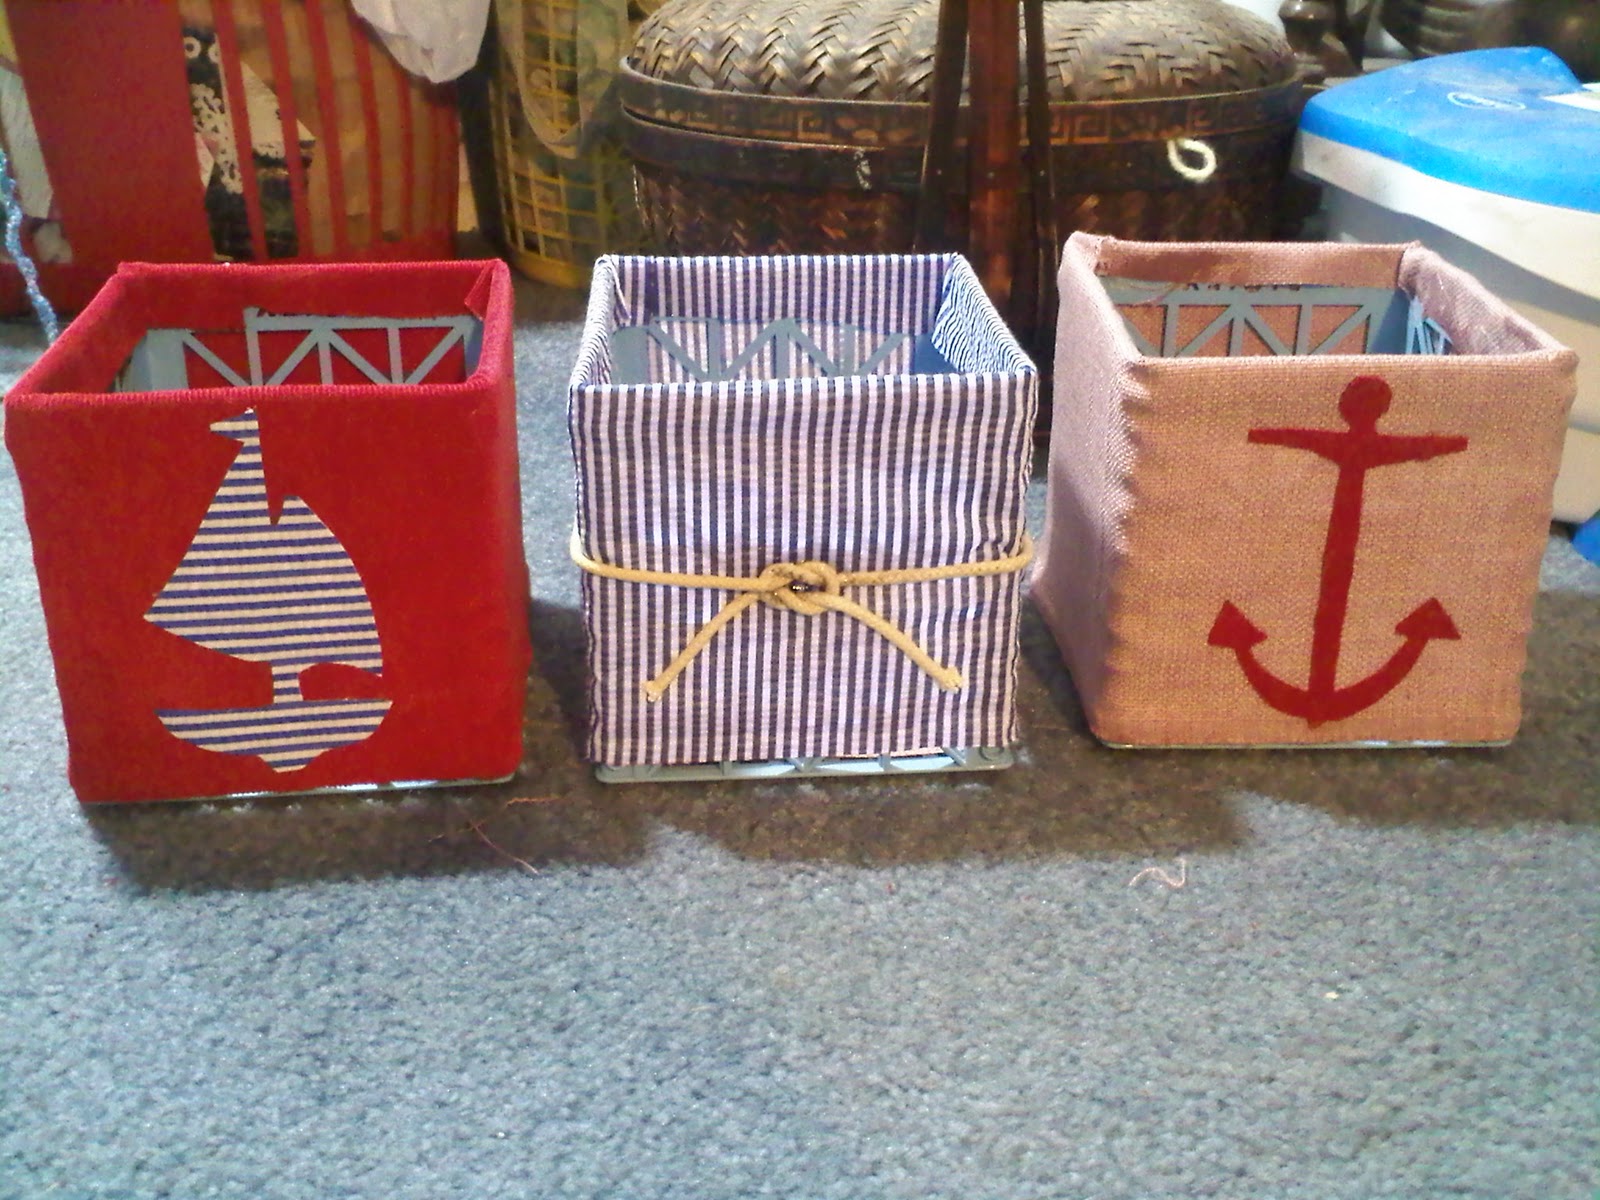
YAY! I love 'em. And here they are on the shelf, OoooOoooooooo

More to come! The bathroom is almost done and I cannot wait to show you :) Till next time!
That is ADORABLE!
ReplyDeleteoh cute idea. what a great way to spruce them up.
ReplyDeleteSo very cute!!! :)
ReplyDeleteSo cute! Love it!
ReplyDeleteWell done! Cheap, cute, and you kept them out of the trash- perfect!
ReplyDelete